
In Part 1, I introduced the project: turning a Dell OptiPlex 5060 SFF into a dedicated Batocera retro gaming PC, capable of pushing well beyond the usual emulation systems and into PS3 and Xbox 360 territory.
Before any of that testing could happen, though, the machine needed some work.
This part covers the physical upgrades — swapping the CPU, installing the storage, upgrading the power supply and adding extra cooling — before Batocera or the RTX 3050 come into the picture at all.
None of this is complicated if you’ve built or upgraded a PC before, but the OptiPlex’s Small Form Factor chassis does add a few extra considerations that a standard ATX tower wouldn’t.
Opening Up the OptiPlex
The 5060 SFF uses Dell’s tool-less chassis design, so getting inside doesn’t require a screwdriver for the outer panel.
- Release the side panel latch at the rear of the case
- Slide the panel back and lift it away
- Lay the machine flat on its side to work on it comfortably
Inside, everything is noticeably more tightly packed than a standard tower — the drive cage sits directly above the motherboard, and cable routing options are limited. Worth taking a moment here to note where everything currently sits before you start moving cables and components, particularly the front-panel connectors and the original drive cabling.
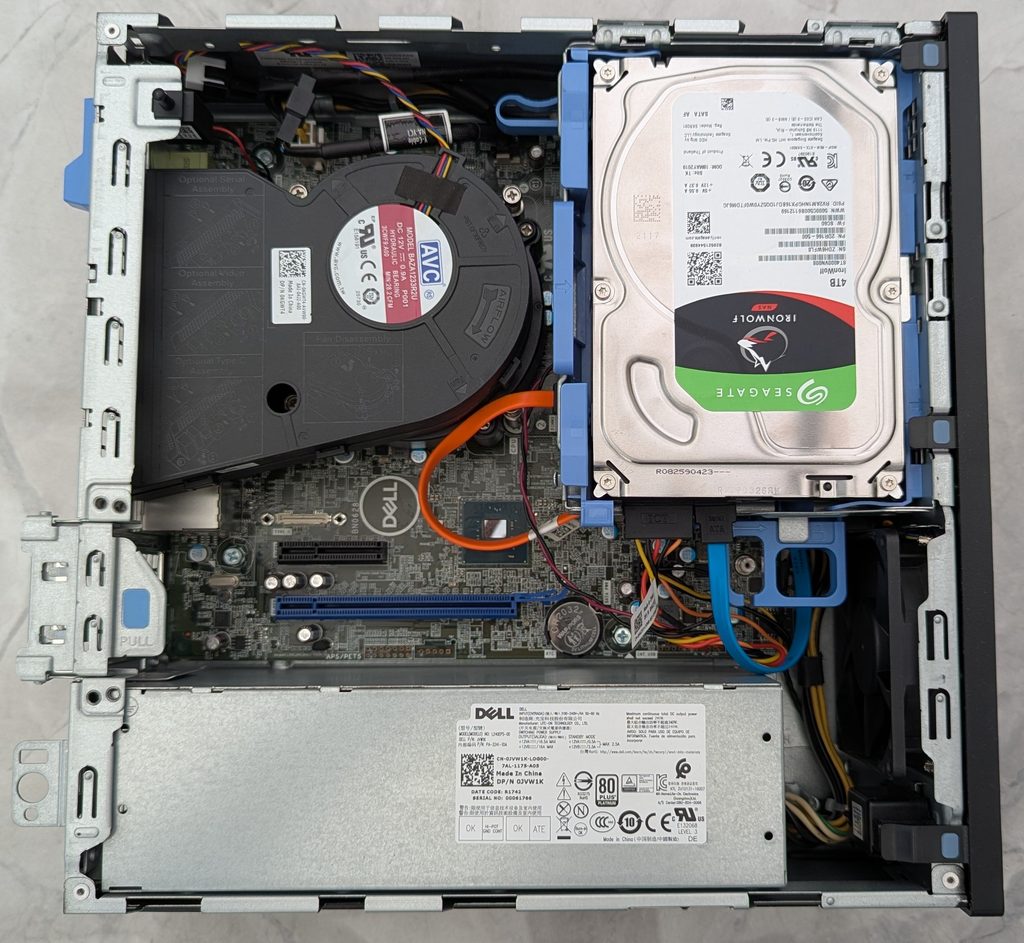
Swapping the CPU
The OptiPlex originally came with an Intel Core i5, which I replaced with the i7-8700 discussed in Part 1.
The process itself is standard LGA1151 socket work, but a few things are worth flagging specifically for this chassis:
- Cooler clearance is tight. The stock Dell cooler is a low-profile design built specifically for the SFF chassis — a standard tower cooler will not fit here, so I reused the original Dell cooler rather than sourcing an aftermarket one.
- Reapply thermal paste properly. Whatever paste Dell used from the factory will be long past its best, so this is a good opportunity to clean both surfaces and apply fresh paste rather than assuming the CPU swap alone is enough.
- Reseat carefully. SFF cases give you very little room to manoeuvre once the drive cage is back in place, so I did this step with the cage removed entirely rather than trying to work around it.
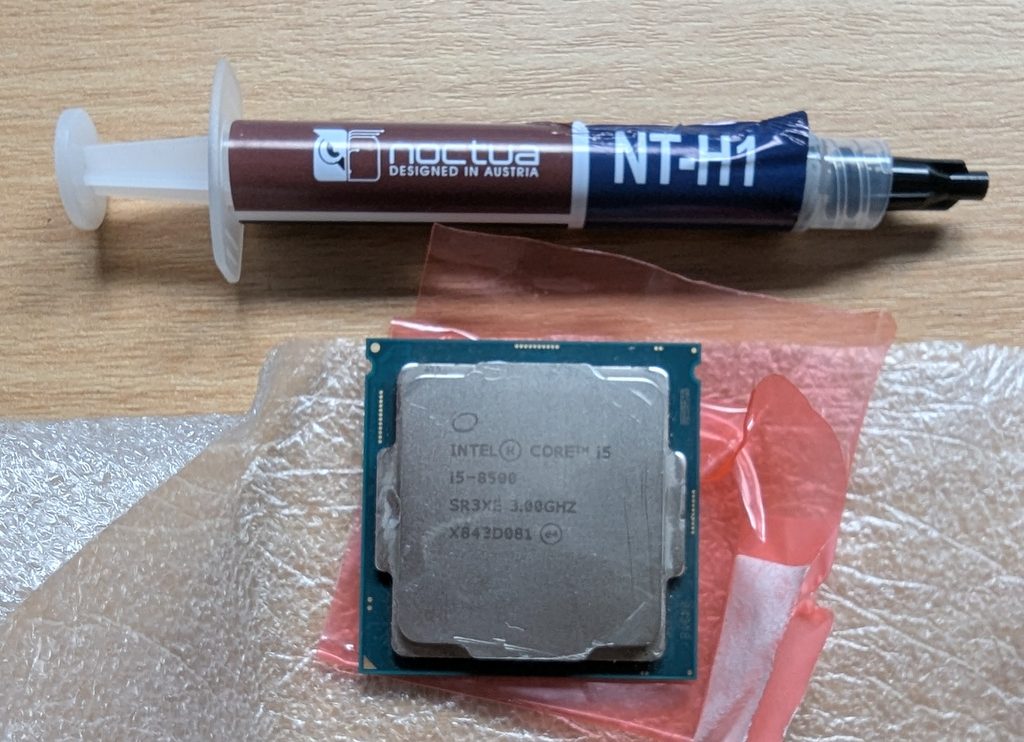
Noctua Thermal Paste
This is what I used when reapplying thermal paste during the CPU swap — whatever paste Dell used from the factory is long past its best by the time you’re doing an upgrade like this, so it’s worth cleaning both surfaces and applying fresh paste rather than assuming the CPU swap alone is enough.
Check the current price and availability on Amazon UK.
Affiliate Disclosure: This post contains Amazon affiliate links. If you purchase a product through one of these links, I may earn a small commission at no additional cost to you. I only recommend products that I have personally used or believe are worth considering.
Once the new CPU was seated, cooler reattached and the drive cage put back, I did a quick test boot into the BIOS before going any further — no point installing storage and a new PSU onto a CPU that isn’t actually working.
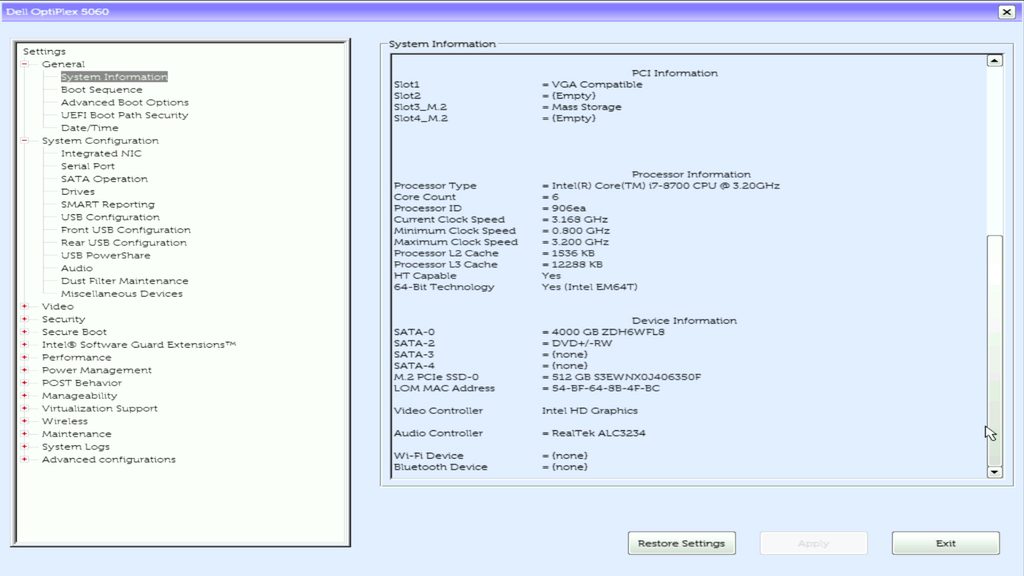
Installing the Storage
With the CPU confirmed working, next came the storage split I outlined in Part 1: the 512GB Samsung NVMe for Batocera and cache data, and the 4TB Seagate IronWolf for the ROM library.
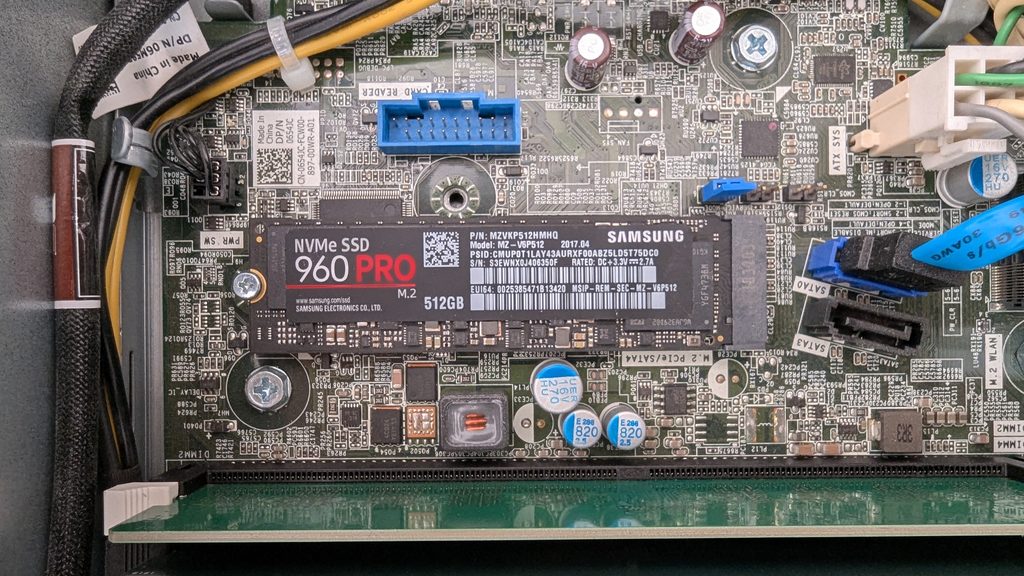
The NVMe
The 5060 SFF motherboard has an M.2 slot, so the NVMe drive installs directly onto the board rather than needing a drive bay. A single retention screw holds it in place — worth double-checking this is properly seated and screwed down, since a loose M.2 drive can work itself free over time from case vibration, which is exactly the kind of intermittent fault that’s a nightmare to diagnose later.
The 4TB IronWolf
The IronWolf is a standard 3.5″ drive, and the SFF drive cage has a dedicated bay for it. This went in using the existing SATA data and power cabling already routed inside the case — one advantage of reusing the stock chassis layout rather than trying to route entirely new cable runs through an already-cramped case.
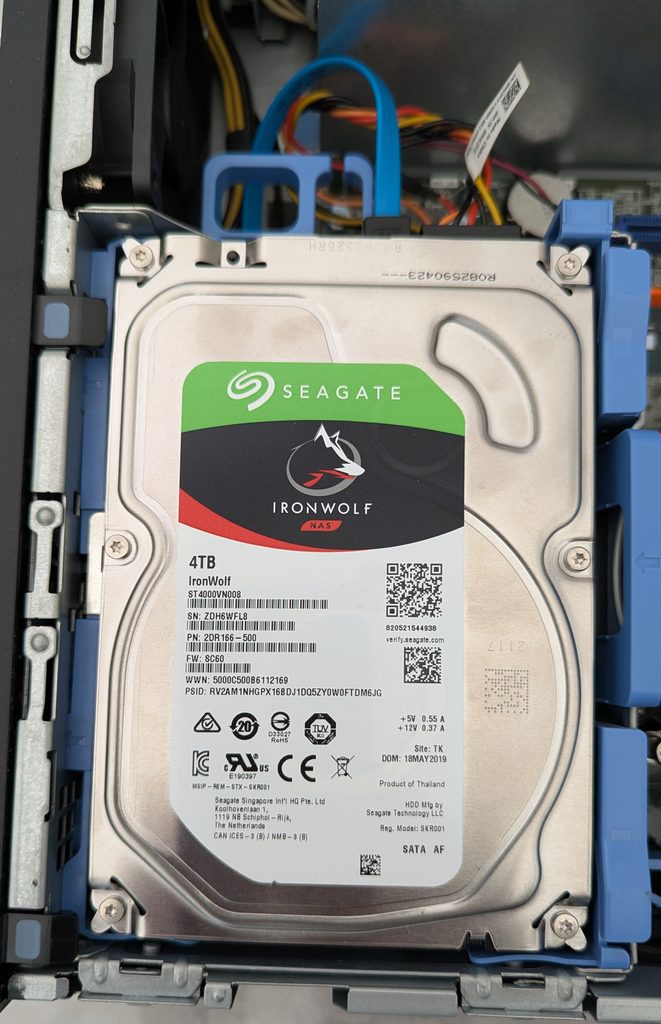
With both drives installed, I did a second test boot to confirm the BIOS was detecting both correctly before moving on.
The Power Supply Upgrade
This is the step I’d flag as the most important in this entire part, and the one I’d encourage anyone following along to not skip or underestimate.
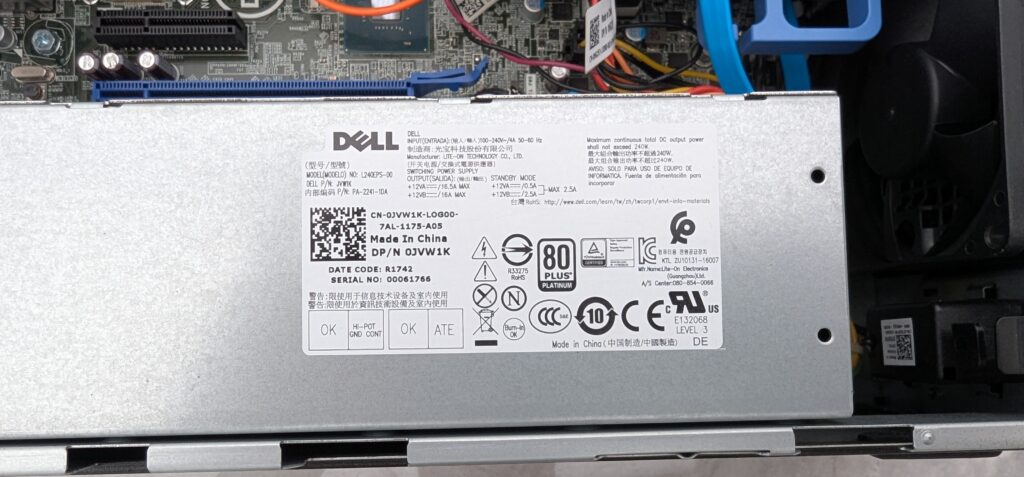
The OptiPlex 5060 SFF ships from Dell with a 200W power supply — adequate for the original business-desktop configuration, but not something I wanted to rely on once a discrete GPU entered the picture later in this project.
I upgraded to a 240W PSU as part of this stage of the build, giving some additional headroom before the RTX 3050 goes in.
A couple of things worth knowing if you’re doing this yourself:
- Dell uses proprietary PSU connectors on the OptiPlex range, not standard ATX. Whatever replacement you source needs to be a compatible Dell part, not a generic PSU — this isn’t a “any PSU with the right wattage will do” situation.
- The SFF form factor further limits your options compared with the Tower variant — physical dimensions matter here as much as wattage.
I’ll come back to power supply headroom again in Part 3 once the RTX 3050 is actually installed and I can measure real-world draw under load — 240W may turn out to be enough, or it may turn out to be a figure worth revisiting. I don’t want to get ahead of the testing at this stage.
Adding Extra Cooling
The last physical change at this stage was cooling.
SFF cases are not known for generous airflow, and I wanted to get ahead of any thermal issues before putting the system under sustained load — particularly once the GPU is added, which is going to introduce a meaningful new heat source into an already tightly packed case.
I added an additional fan at the front of the chassis, oriented to push air outward and help move warm air out of the case rather than letting it build up around the components.
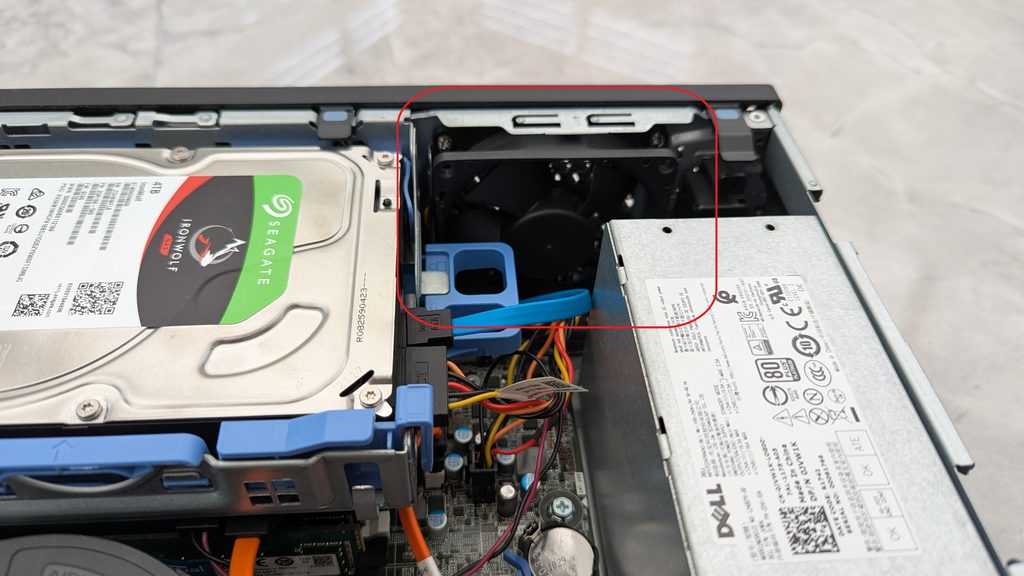
Noctua 80mm Cooling Fan
Here’s a similar fan for the OptiPlex to help push warm air out of the case — a small addition, but worthwhile.
Check the current price and availability on Amazon UK.
Affiliate Disclosure: This post contains Amazon affiliate links. If you purchase a product through one of these links, I may earn a small commission at no additional cost to you. I only recommend products that I have personally used or believe are worth considering.
I’m not expecting a dramatic change to idle temperatures from this alone. The real test will be sustained CPU and GPU load once everything is in place — I’ll be tracking temperatures properly from Part 3 onward using Batocera’s built-in performance overlay, so there’ll be actual numbers to look at rather than guesswork.
Where the Hardware Stands Now
With the CPU, storage, PSU and cooling all done, the physical upgrade stage of this project is complete.
Updated Specification
| Component | Before | After |
|---|---|---|
| CPU | Intel Core i5 (stock) | Intel Core i7-8700 |
| RAM | 16GB | 16GB (unchanged) |
| Primary Storage | Stock Dell drive | 512GB Samsung NVMe |
| Secondary Storage | None | 4TB Seagate IronWolf |
| Power Supply | 200W (stock) | 240W |
| Cooling | CPU fan only | CPU fan + additional front exhaust fan |
| Graphics | Intel UHD Graphics 630 | Intel UHD Graphics 630 (unchanged — for now) |
Everything is now in place for Batocera itself, which I’ll walk through in Part 4, and for the RTX 3050 installation in Part 3 — including a PCIe slot discovery that changed how I think about this chassis’ expansion options entirely.
What’s Next?
The OptiPlex is now a genuinely different machine to the one I started with: a faster CPU, proper fast storage for the OS and cache data, a large dedicated ROM drive, more power headroom and better airflow.
None of that is glamorous on its own, but it’s the foundation everything else in this series depends on.
Part 3 covers installing the MSI RTX 3050 Low Profile — including a slot-fit surprise I wasn’t expecting, and the diagnostics I ran afterward to make sure it was actually running correctly once it was in.
That’s next.