
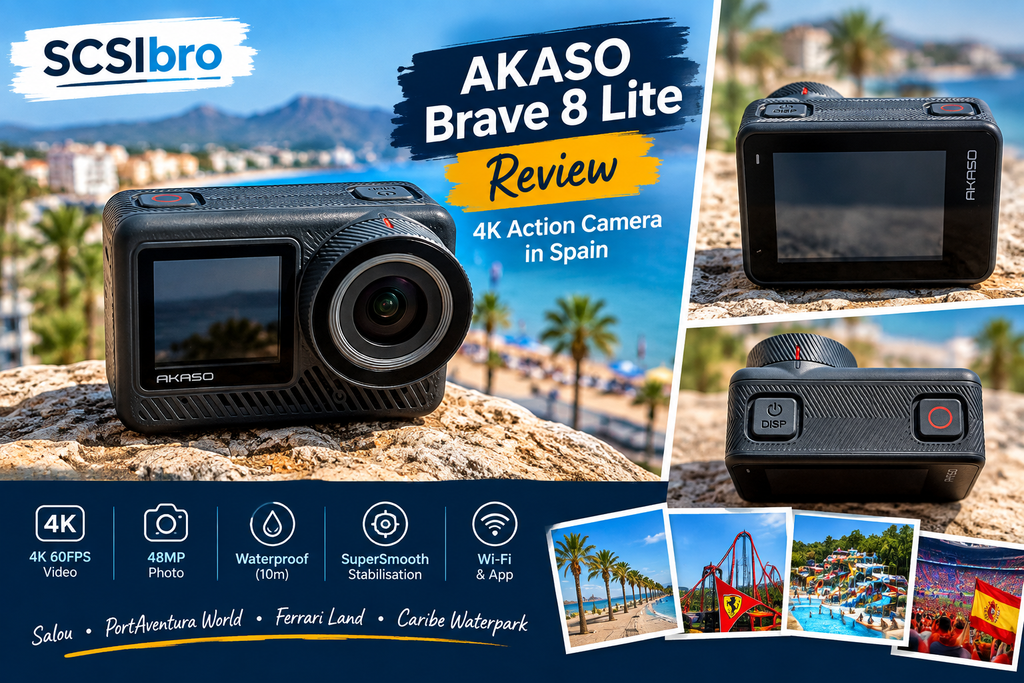
A hands-on review of the AKASO Brave 8 Lite after using it around Salou, PortAventura World, Ferrari Land and Caribe Waterpark
I’ve always enjoyed taking photos and videos when I’m travelling, especially when there are plenty of opportunities to capture things that you simply can’t recreate afterwards.
For my latest trip to Spain, I decided it was time to upgrade my action camera and purchased the AKASO Brave 8 Lite.
I bought the camera from Amazon for £169.99 and took it with me on holiday to Salou, where I used it extensively around PortAventura World, Ferrari Land and Caribe Waterpark.
The timing of the holiday also made the trip particularly interesting. Spain was preparing to face Argentina in the 2026 FIFA World Cup final on 19 July, and even during the day you could really feel the excitement building around Salou, with Spanish and Argentinian supporters everywhere, flags flying, music playing and plenty of horns being sounded.
It turned out to be the perfect opportunity to really put the Brave 8 Lite through its paces.
I used it for rides, walking around the parks, night-time filming, a fire show, underwater footage and plenty of general holiday videos.
So, after actually using the camera for a full holiday rather than just testing it around the house, what did I think?
If you’re interested in the Akaso Brave 8 Lite, you can check the current price and availability on Amazon UK.
Affiliate Disclosure: This post contains Amazon affiliate links. If you purchase a product through one of these links, I may earn a small commission at no additional cost to you. I only recommend products that I have personally used or believe are worth considering.
Why I Bought the AKASO Brave 8 Lite
I wasn’t looking for an expensive professional action camera.
What I wanted was something that could:
- Record good-quality 4K video
- Take decent photographs
- Handle being used in water
- Have good image stabilisation
- Have enough battery life for a full day
- Be easy enough to use without constantly reaching for my phone
- Come with plenty of mounting accessories
- Not cost a fortune
At £169.99, the AKASO Brave 8 Lite seemed to fit that requirement nicely.
I was also interested in being able to record at 4K 60fps, as I wanted smooth footage from rides and other fast-moving activities.
The real test, however, would be taking it on holiday and actually using it.
What’s Included in the Box?
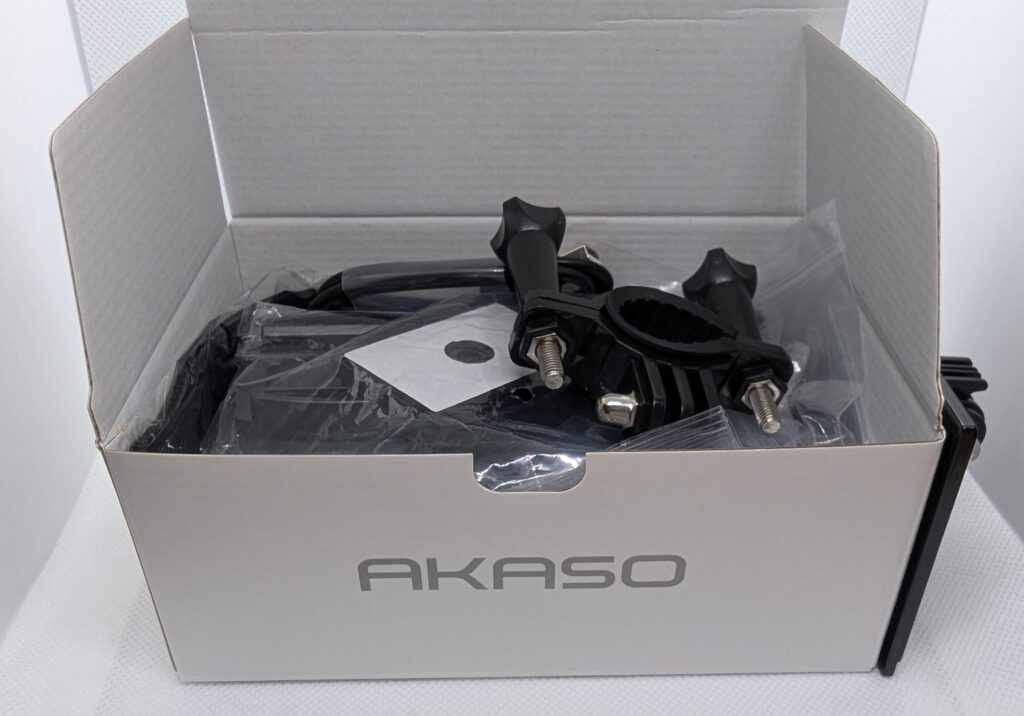
One thing I liked immediately about the Brave 8 Lite was the amount of equipment included.
The box contained:
- AKASO Brave 8 Lite camera
- Camera frame for mounting and protection
- Remote control
- USB-powered dual battery charger
- 2 × 1550mAh batteries
- 7 × mounts with various configurations
- 2 × helmet mounts
- Handlebar mount
- 4 × bands
- 5 × tethers
- USB cable
- 2 × double-sided adhesive pads
- Spanner/wrench
- Lens cloth
- Quick Start Guide
That’s quite a lot of accessories to get you started.
I also purchased a 128GB SanDisk Extreme MicroSD card, as I knew I’d be recording a lot of 4K footage and didn’t want to run out of storage halfway through the holiday.
SanDisk Extreme 128GB MicroSD Card
As an Amazon Associate, I earn from qualifying purchases.
First Impressions
My first impression of the Brave 8 Lite was positive.
The camera feels well made and has a solid construction. It doesn’t feel like a cheap action camera that you would be worried about throwing into a bag.
Installing the battery and MicroSD card was straightforward.
Turning the camera on was also easy, although one thing I noticed immediately was that the power button needs to be pressed reasonably firmly and held for around 2–3 seconds.
That’s not really a problem, but it is worth knowing because a quick press won’t necessarily turn the camera on.
The other buttons are also quite firm to press.
The reason becomes obvious when you consider that the camera is designed to be waterproof. The buttons have to operate through the waterproof membrane, so I don’t really see this as a negative. It’s simply something you get used to.
The Battery and MicroSD Card Cover
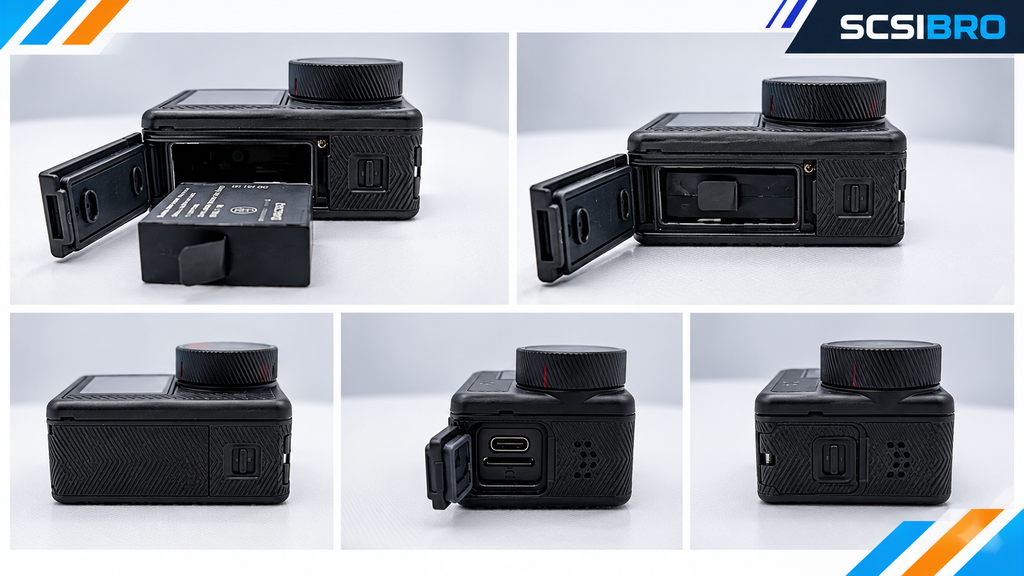
The battery and MicroSD card are accessed behind a waterproof cover on the bottom and side of the camera.
The cover is quite secure, which is reassuring given that the camera is designed to be used in and around water.
I don’t have particularly large fingernails, but I do have just enough to get underneath the latch and open it.
If you have shorter nails, you may find that you need something small to help lift the latch.
It isn’t a major issue, and I think the solid design is a reasonable trade-off for keeping the compartment properly protected from water.
Setting Up the Camera
Getting started with the camera itself was relatively easy.
There was some learning involved, mainly because there are quite a few different recording modes and settings available.
However, I didn’t find the initial setup difficult.
I actually decided to skip the mobile app initially.
I wanted to get out there and start using the camera, and the touchscreen controls were perfectly usable without having to connect it to my phone.
I would recommend spending a little time familiarising yourself with the different settings before heading off on holiday, though.
There are options for resolution, frame rate, aspect ratio, HDR, image stabilisation and other features, and understanding these beforehand means you’re less likely to miss an opportunity because you’re trying to work out a setting.
Touchscreen Controls
The touchscreen is one of the things that makes the Brave 8 Lite fairly easy to use.
Swiping left or right from the centre of the screen allows you to move between different recording modes, including:
- Photo
- Video
- Timelapse
- HDR video
- Other available shooting modes
Once you understand the gestures, changing between modes becomes quick and straightforward.
This was particularly useful at the theme parks because I didn’t want to spend ages navigating menus every time I wanted to record something.
Remote Control
Another feature I found useful was the included remote control.
The remote has its own built-in battery and can be charged using USB-C, which means you don’t need to worry about replacing batteries. It can also be worn around your wrist using the included strap, making it easy to keep with you while you’re using the camera.
Before using it, you need to enable the remote control setting on the camera. Once that’s enabled, you simply turn on the remote using its power button and it connects to the camera.
The controls are very straightforward.
The larger button on the remote toggles between photo and video, while the blue button is used to either take a photograph or start and stop video recording.
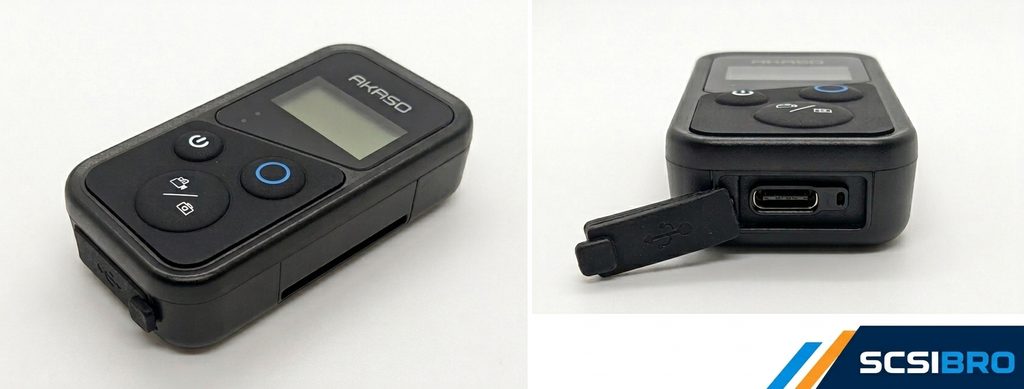
One limitation I found is that the photo/video toggle is quite basic. It switches between photo mode and the standard video recording mode, but it doesn’t allow you to select other video modes such as HDR, slow motion or other specialised recording options from the remote.
That does make the remote somewhat limited, but in my case it wasn’t really a problem.
Most of the time I used the remote for taking photographs, particularly when I wanted to get into the shot myself or take a photo without having to walk back over to the camera.
For that purpose, I found it very useful.
The ability to have the remote strapped to your wrist also means you can keep it close at hand rather than having to put it somewhere and then search for it every time you want to take a photo.
Overall, while the remote doesn’t give you access to every camera mode, I think it’s a useful accessory to include in the box and one that I ended up using more than I initially expected.
48MP Photos and Aspect Ratio
One thing I didn’t initially pay enough attention to was the photo aspect ratio.
The camera defaults to 4:3 for photographs.
I initially just started taking photos without changing this, and it wasn’t until later that I realised that 16:9 would have been a better choice for how I intended to view the images.
Most of my family viewing is done on widescreen TVs and displays, so 16:9 makes much better use of the available screen.
The camera also offers 12MP and 48MP photo options.
I’d seen some listings suggesting 20MP, so I was initially expecting to see that as an option. On my camera, however, the photo menu gave me the choice of 12MP or 48MP.
I used 48MP for my photographs.
The results were very good and gave me plenty of detail to work with.
Distortion Calibration – A Setting Worth Enabling
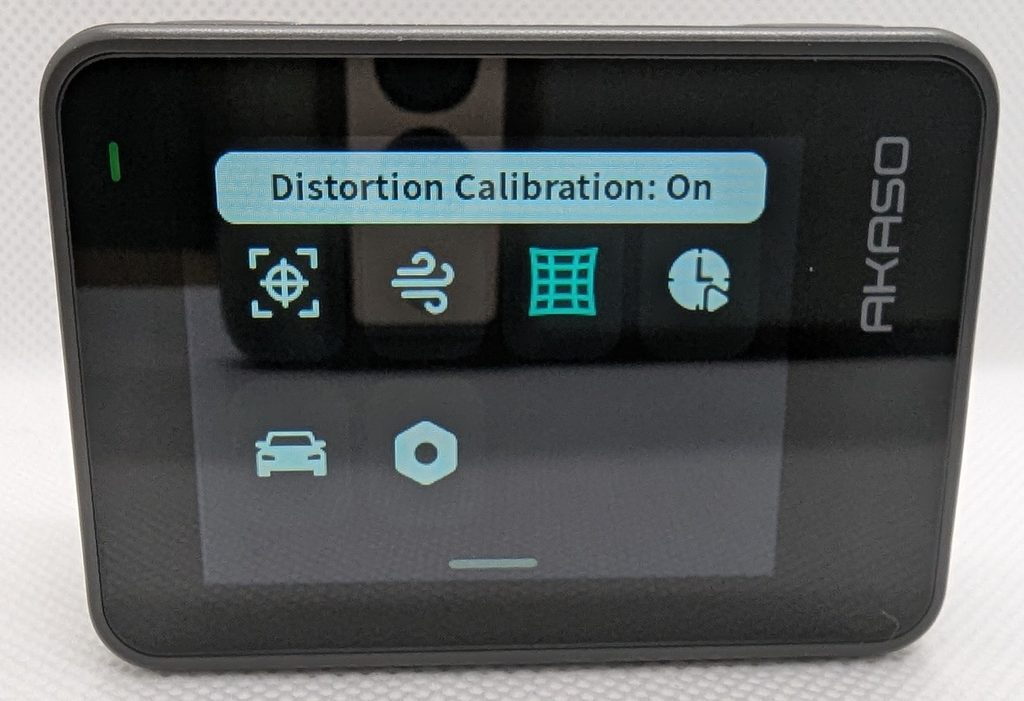
There is another setting I would definitely recommend checking before you start recording: Distortion Calibration.
With it disabled, I noticed a fish-eye effect around the edges of the footage.
It isn’t particularly strong, but it was noticeable to me, especially when looking at straight lines or objects towards the edge of the frame.
Once I enabled Distortion Calibration, the footage looked much more natural to my eyes.
For someone like me who notices things like that, I would definitely recommend enabling it.
The setting can be accessed through the touchscreen menus by swiping down from the top of the screen.
The AKASO GO App – Not Quite What I Expected
I didn’t actually use the mobile app while I was on holiday.
My priority was simply getting out there and using the camera, and I was quite happy controlling everything from the touchscreen.
After returning home, though, I decided to give the AKASO GO app a try.
This is where things became a little frustrating.
The app requires you to register an account before you can use it.
The process to connect the camera is roughly:
- Open the AKASO GO app.
- Select Add Device.
- On the camera, swipe down from the top.
- Enable Wi-Fi.
- Go to the Wi-Fi settings on your phone.
- Select the AKASO device.
- Use the camera’s default Wi-Fi password shown in the camera/app documentation.
- Return to the app and select the appropriate camera.
The app has two options available for this camera:
- Brave 8
- B8Lite
I tried both.
I spent quite a bit of time trying to get the camera connected, but unfortunately I couldn’t get it working.
Eventually, I gave up.
It’s not something that ruined my experience with the camera because I didn’t need the app during the holiday anyway, but it was disappointing because I expected the mobile connectivity experience to be a little more straightforward.
The actual camera itself was much easier to deal with.
Taking the Brave 8 Lite to Spain
This is where the camera really started to make sense.
I took it with me around Salou, PortAventura World, Ferrari Land and Caribe Waterpark, and I used it throughout the holiday.
Rather than treating it like a camera that I needed to carefully set up before every shot, I wanted something I could simply pick up and start recording.
That’s exactly how I ended up using it.
Salou During the World Cup Final
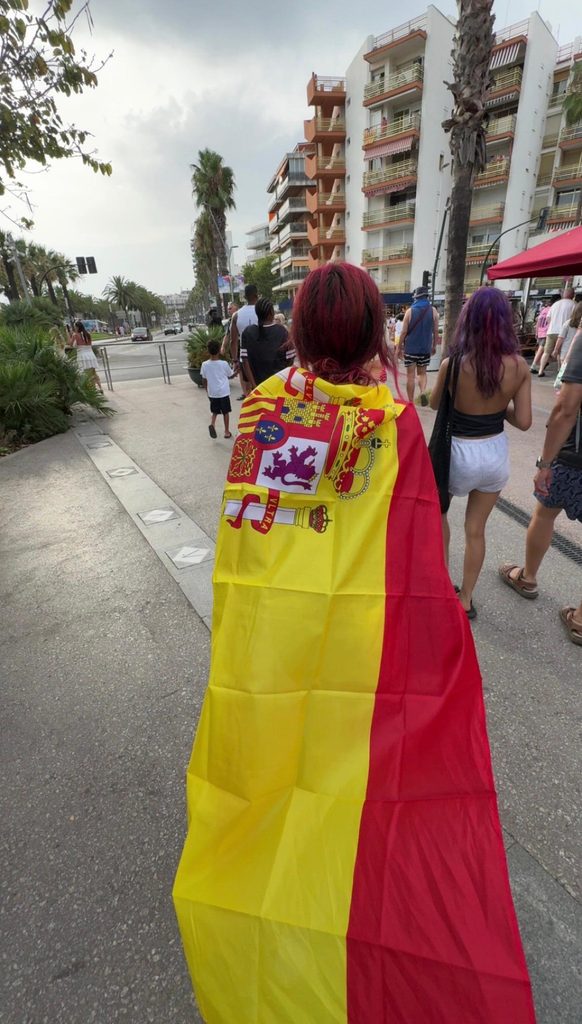
Being in Spain during the World Cup final was an experience in itself.
Spain was preparing to play Argentina in the final, and you could feel the excitement building around Salou.
People were wearing football shirts and flags, Spanish flags were everywhere, Argentinian supporters were also out celebrating, music was playing and car horns were regularly being sounded.
We were out during the daytime, so I can only imagine how much busier and louder things became that evening.
It genuinely felt like we were witnessing something special.
For us in England, we had already had a pretty good tournament ourselves, eventually finishing in a respectable third place, but being in Spain while they were preparing for the final gave the whole holiday an atmosphere that I hadn’t expected.

PortAventura World and Ferrari Land
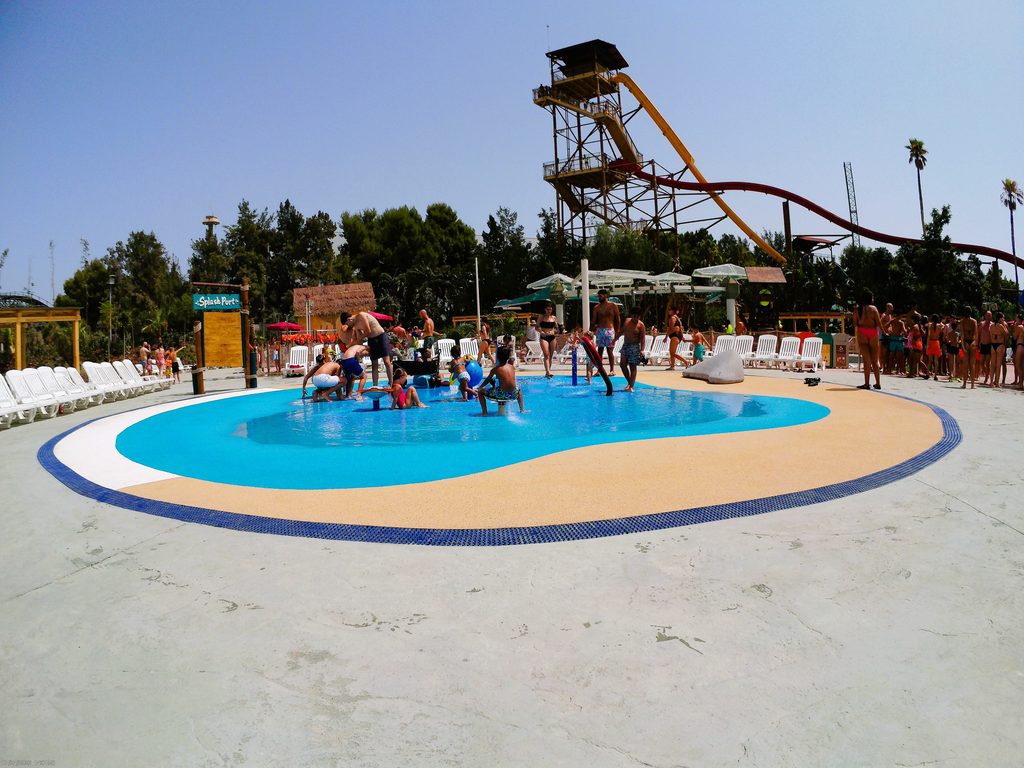
Of course, the main reason for taking an action camera on this trip was to capture the attractions.
And I captured a lot of them.
From rides and attractions to people dancing and general moments around the parks, the Brave 8 Lite was used constantly.
I recorded plenty of footage at PortAventura World and Ferrari Land, and this is where the 4K recording really came into its own.
The video was sharp and smooth, and the camera handled fast-moving subjects very well.
Having an action camera also meant I didn’t have to worry about taking my phone out on rides or putting an expensive camera somewhere it could potentially get damaged.
I could simply attach the camera, start recording and enjoy the ride.
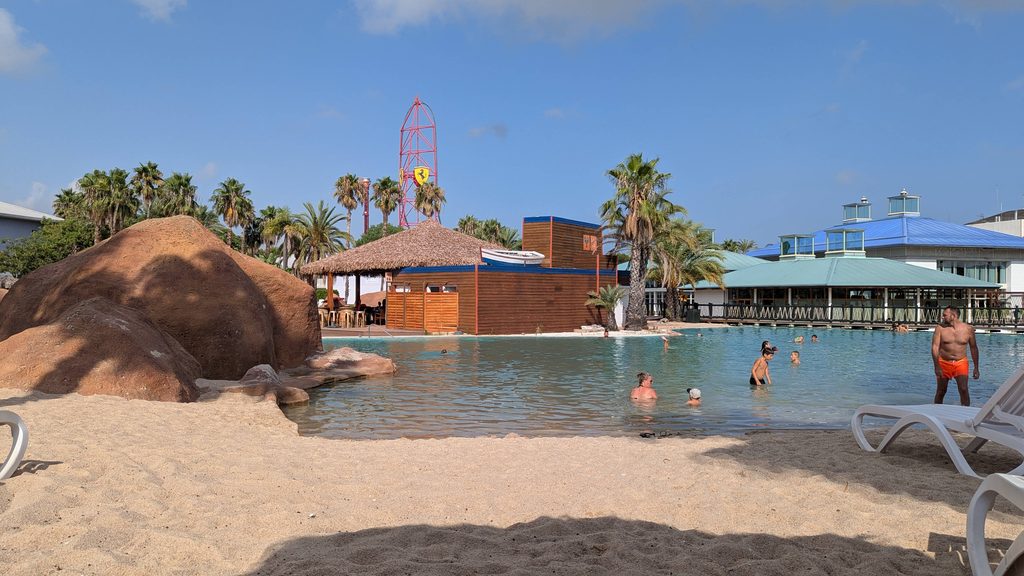
Caribe Waterpark – Putting the Waterproofing to the Test
The camera also came with us to Caribe Waterpark, where I had plenty of opportunities to test its waterproof capabilities.
This is one of the areas where having an action camera really makes sense.
Because the camera itself is waterproof, I didn’t have to worry about putting it inside an additional waterproof housing and then constantly checking whether that housing was sealed correctly.
I could simply take the camera into the water and start recording.
I used the camera underwater in the pool and captured plenty of footage.
I also used the bright yellow floating handle that I already had from my previous camera. This worked really well because it gave me a much better grip and made the camera easier to keep hold of in the water.
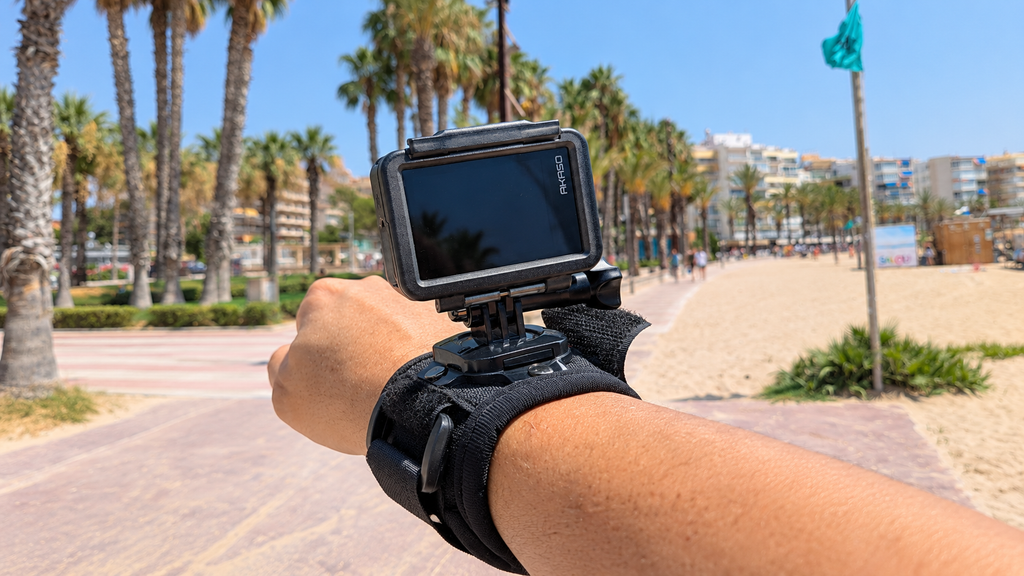
I also used a wrist strap for some additional peace of mind.
The result was that I could simply keep the camera with me and start recording whenever something interesting happened.
4K60, 4K30 and HDR – Which Did I Prefer?
I spent quite a bit of time experimenting with the different video modes, mainly 4K60, 4K30 and HDR.
Naturally, I wanted to see what the camera could do at its maximum 4K 60fps setting.
The footage looked excellent.
The extra frame rate is particularly useful for action, rides and anything involving a lot of movement.
However, there was one problem I hadn’t really considered while I was on holiday:
My Plex server didn’t particularly like the 4K60 footage.
When I added the videos to Plex, it wanted to transcode a lot of the 4K60 files rather than simply playing them directly.
That meant I was regularly seeing transcoding, and depending on what device I was watching the videos on, buffering could become an issue.
This wasn’t really something I wanted to put up with.
One of the main reasons I keep all of these videos on my Plex server is so that I can sit down with family and watch our holiday memories whenever we want.
The last thing I want is to start a holiday video and then have everyone sitting there waiting for Plex to catch up.
I therefore ended up converting some of the troublesome 4K60 videos into a format that my Plex setup could handle more comfortably.
It added an extra step, but it was worth doing so that I could watch and share the videos without constant transcoding and buffering.
Interestingly, 4K30 and HDR worked much better with my Plex setup.
I had far fewer issues with those recordings, so if you’re planning to use an action camera primarily for recording family holidays and then watching the footage through something like Plex, it’s worth considering more than just the highest possible recording setting.
Personally, I really liked the HDR mode.
Although HDR is limited to 30fps, I felt the colours looked a little brighter and more pleasing, particularly in some of the outdoor footage.
So while 4K60 gives you the headline specification, my experience was that 4K30 and HDR were considerably easier to manage afterwards.
There’s no point having amazing 4K60 footage if you then have to spend hours converting it before you can comfortably watch it.
Image Stabilisation
The Brave 8 Lite has electronic image stabilisation, with options for Standard and Super.
I tried both settings, but to be honest, I didn’t notice a huge difference between them during normal use.
I did find that changing the stabilisation settings helped improve the smoothness of some of my footage, particularly when I was moving around, but I wouldn’t say the difference between Standard and Super was night and day.
Overall, though, the stabilisation was an improvement over the camera I had used previously.
Footage from walking around the parks and moving around on rides came out nicely, and I was happy with the overall results.
Night-Time Video
Another area where I was pleasantly surprised was the camera’s performance at night.
Some of the night-time footage came out incredibly well.
The camera handled different lighting conditions better than I expected, particularly when there were lots of lights and movement happening at the same time.
The real test was the fire show.
There were bright flames, dark areas and plenty of movement, which can be difficult for a small action camera to handle.
I was genuinely impressed with the footage.
The fire show came out incredibly well and is one of my favourite examples of what the camera managed to capture during the holiday.
Battery Life
Battery life was another area where I was pleased with the Brave 8 Lite.
The camera arrived with some charge already in the battery, but I fully charged everything before heading out.
I also carried the spare battery with me.
Interestingly, I never actually needed it.
I made a conscious effort to switch the camera off when I wasn’t using it rather than leaving it recording or sitting idle with the screen on.
Doing this meant I was able to get through full days without needing to swap the battery.
Obviously, battery life will depend heavily on how you’re using the camera, particularly if you’re constantly recording at 4K60, but for the way I used it, I was very happy.
Audio – The Biggest Weakness
If there is one area where I think the Brave 8 Lite could be improved, it would be audio.
The problem is understandable.
The camera is completely waterproof, which means the microphones also have to be protected.
As a result, the audio recordings can sound somewhat muffled.
At the waterpark, I didn’t really care.
I was expecting the audio to be compromised because the camera was being used in and around water.
But when you’re using the camera on land, particularly when people are talking to the camera, I would prefer clearer audio.
AKASO does offer an external microphone for around £9.99.
The microphone connects through USB-C and comes with a shirt clip.
AKASO External Microphone
As an Amazon Associate, I earn from qualifying purchases.
The downside is that using the external microphone means leaving the waterproof flap open.
Obviously, that means you lose the ability to use the camera as a waterproof camera while the microphone is connected.
For me, that’s an important consideration.
If you’re primarily buying the Brave 8 Lite for underwater use and waterparks, the built-in microphone is probably something you’ll simply accept.
If you’re buying it mainly for holidays, talking to the camera, vlogging or recording people on land, I’d seriously consider spending the extra money on the external microphone.
What I Really Liked About the AKASO Brave 8 Lite
After using the camera throughout the holiday, there were several things that stood out.
Excellent video quality
The video was sharp, smooth and detailed.
For a camera at this price point, I was very happy with the footage.
4K60 recording
Having 4K60 available gives you plenty of flexibility, particularly for fast-moving activities.
Just remember that your playback equipment needs to be able to handle the resulting files.
Good photographs
The 48MP photo option produced some very good images.
Waterproof without needing an external housing
This was particularly useful at Caribe Waterpark.
I didn’t have to worry about an additional waterproof case.
Good battery life
For the way I used the camera, I could get through full days without needing the spare battery.
Plenty of accessories
There are plenty of mounting options included, meaning you can start using the camera in different situations without immediately needing to buy additional accessories. I was also able to reuse some of the mounting accessories from my previous action camera, which gave me even more flexibility without having to purchase additional mounts.
Easy touchscreen controls
Once I understood the gestures and menus, changing between modes was straightforward.
Useful Remote Control
The included remote turned out to be more useful than I expected, particularly for taking photographs. Being able to keep it on my wrist meant I could trigger the camera without having to walk back to it.
Things I Think Could Be Better
No camera is perfect, though, and there were a few things I wasn’t as keen on.
The AKASO GO app
I spent quite a while trying to connect the camera to the app and couldn’t get it working.
Audio quality
The waterproof microphone setup produces somewhat muffled audio.
An external microphone improves this, but you lose the waterproof capability while it’s connected.
Waterproof cover
The battery/MicroSD cover is secure, but opening the latch can be awkward if you don’t have enough of a fingernail to get underneath it.
Plex compatibility
The 4K60 footage caused more transcoding on my Plex setup than I would have liked.
This isn’t necessarily a problem with the camera itself, but it’s something to consider if your main use is storing and streaming your videos through Plex.
AKASO Brave 8 Lite – Pros and Cons
Pros
- Excellent 4K video quality
- 4K60 recording
- 48MP photographs
- Good image stabilisation
- Waterproof design
- Good battery life
- Lots of mounting accessories included
- Easy touchscreen controls
- Useful remote control included
- Good low-light/night performance
- Excellent for theme parks and holidays
- Very good value for the price
Cons
- Built-in microphone audio can sound muffled
- External microphone compromises waterproofing
- AKASO GO app connection was frustrating in my experience
- Battery/MicroSD cover can be awkward to open
- 4K60 footage caused transcoding issues on my Plex server
- Some settings require a little experimentation to get the best results
Who Is the AKASO Brave 8 Lite For?
For me, this camera sits in a really interesting part of the market.
I wouldn’t necessarily recommend it to someone looking for a professional filmmaking camera.
That’s not what it’s designed for.
But if you’re looking for a camera to take on holiday, to theme parks, on bike rides, to the beach, into the swimming pool or simply to record your adventures, I think it makes a lot of sense.
It’s also a good option for someone who wants to get into action cameras without spending a huge amount of money.
The fact that you get the camera, two batteries, remote control, mounts and other accessories in the box means you have a lot of what you need from day one.
For social media, family holidays and general adventure videos, it is more than capable.
My Overall Experience
After using the AKASO Brave 8 Lite for a full holiday, I can honestly say that I’m very happy with it.
The camera itself is easy enough to use, produces excellent footage and has proved to be a great companion for capturing our adventures.
I particularly liked being able to take it into the water without worrying about an external waterproof case.
The footage from PortAventura, Ferrari Land and Caribe Waterpark came out incredibly well, and I’m really pleased to have those memories recorded.
The night-time footage also surprised me, especially the fire show.
There are certainly some compromises.
The audio isn’t brilliant because of the waterproof design, the app connection was frustrating, and the 4K60 footage wasn’t ideal for my Plex setup.
But none of those things changed my overall opinion of the camera.
In fact, the Plex issue is more about my own requirements and playback setup than the camera itself. The camera is doing exactly what it is supposed to do by producing high-quality 4K60 footage. I just discovered that my particular Plex setup didn’t particularly like it.
For me, the biggest lesson was that the highest recording setting isn’t always the most practical one.
4K60 looked fantastic, but 4K30 and HDR gave me footage that was easier to manage afterwards.
Would I Buy the AKASO Brave 8 Lite Again?
Yes, I would.
At £169.99, I think it represents very good value for someone looking for a capable action camera without spending a huge amount of money.
It’s not perfect, but I didn’t expect it to be.
What matters to me is that after taking it to Spain and using it throughout a very busy holiday, I came home with a huge collection of photos and videos that I’m genuinely proud of.
That’s ultimately what I wanted from the camera.
I wanted something I could take with me, use without too much hassle and rely on to capture our adventures.
The Brave 8 Lite did exactly that.
Final Thoughts
The AKASO Brave 8 Lite has now become the camera I associate with our Spain trip.
Every time I watch the footage back, I’m reminded of the rides, the waterpark, the atmosphere in Salou, the World Cup excitement and all the other little moments that would otherwise just be memories.
That’s probably the best thing I can say about it.
It’s a great little action camera, and for someone looking to capture holidays, theme parks, water activities, adventures or social media content without spending a fortune, I think it’s worth considering.
The camera isn’t perfect, but for £169.99, it gave me exactly what I wanted: a simple way to capture a lot of really good-quality memories.
And ultimately, that’s what I bought it for.