
Part 4: Getting Batocera Onto the OptiPlex
With the hardware upgrades done in Part 2 and the RTX 3050 installed in Part 3, the OptiPlex was finally ready for the operating system this entire project is built around: Batocera Linux.
This part covers the install itself and the initial configuration I did before touching ROMs, controllers or emulator settings — all of which get their own dedicated parts later in the series.
Why Batocera
I touched on this briefly back in Part 1, but it’s worth restating here: Batocera turns the machine into a dedicated emulation platform rather than a general-purpose desktop OS with emulators bolted on. Everything from the boot process to the front-end is built around that single purpose, which is exactly what this project needed.
For a standard PC like the OptiPlex, Batocera provides an x86_64 build — the architecture that matches the i7-8700, as opposed to the ARM builds intended for Raspberry Pi and similar single-board hardware.
Downloading the Image
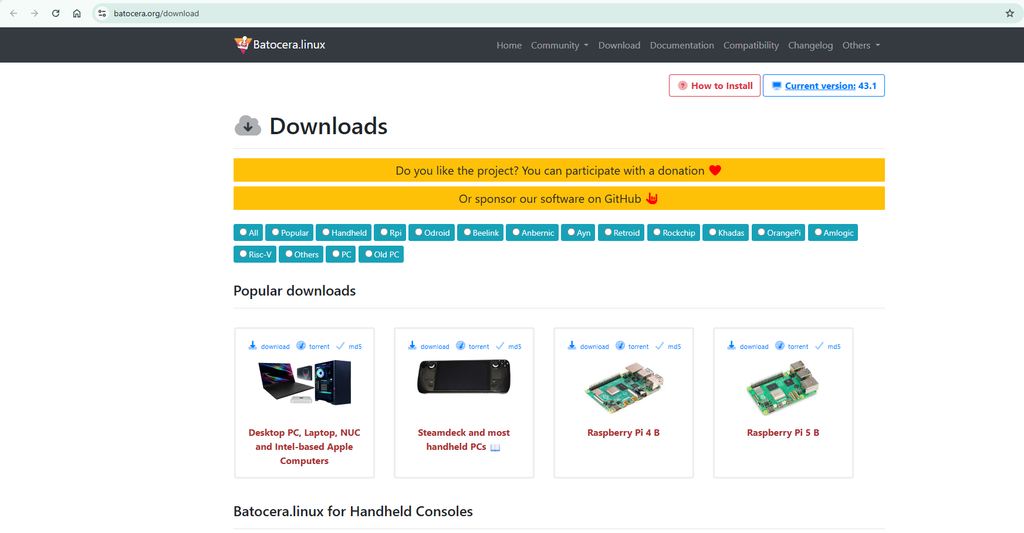
The current image is available from batocera.org, where you select the architecture matching your hardware — x86_64 in this case — and download the corresponding .img.gz file.
Worth taking the extra minute to verify the checksum after downloading, particularly given how large the image is and how little fun it is to discover a corrupted write partway through flashing.
Preparing the Install Media
Batocera’s own documentation recommends flashing the downloaded image to a USB drive using balenaEtcher, then booting from that USB drive to actually install onto the target disk — rather than trying to flash the NVMe directly from another machine.
The process:
- Flash the
.img.gzfile to a USB drive (8GB minimum) using Etcher - Boot the OptiPlex from that USB drive
- From the Batocera main menu, go to System Settings → Install Batocera on a New Disk
- Select the 512GB Samsung NVMe as the install target — and double, then triple, check this is the right drive before confirming, since this step is genuinely destructive to whatever’s already on the target disk
- Select x86_64 as the target architecture
- Confirm and let it write
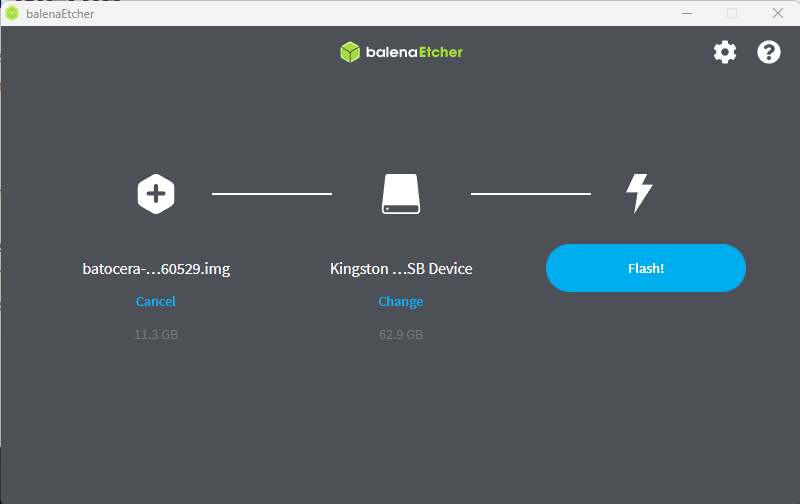
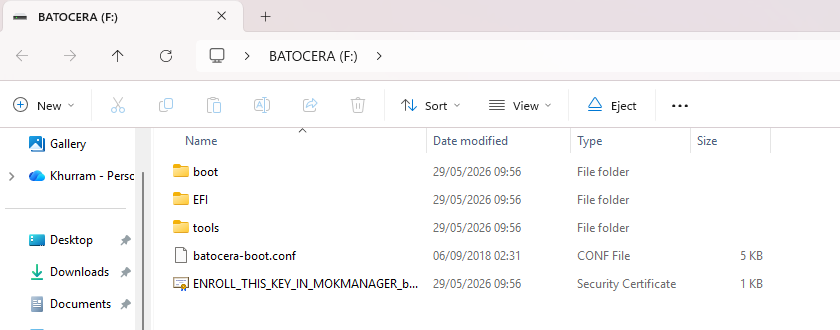
I’m doing this as a completely clean install rather than migrating settings from anywhere else, which gives me a known, documented starting point for the rest of this series — useful both for troubleshooting and for anyone following along who wants to replicate the exact steps.
BIOS and Boot Order
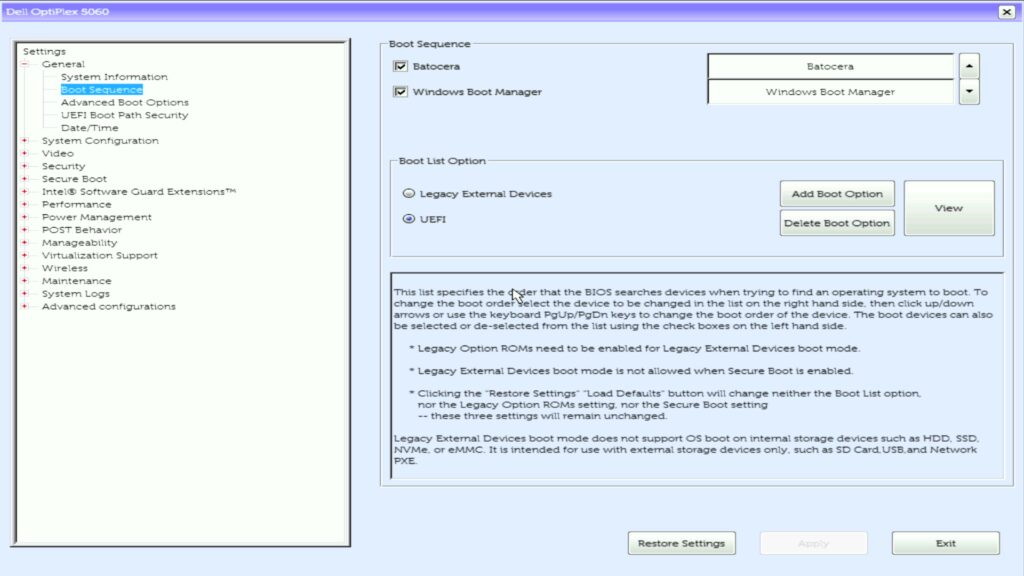
With Batocera written to the NVMe, the OptiPlex needed to actually be told to boot from it. Dell’s BIOS is reached with the usual F2 on startup, and boot order/priority lives under the boot configuration menu from there.
I set the NVMe as the primary boot device and left the boot mode on UEFI, which Batocera boots fine under and is generally the preferred option over Legacy/MBR where available.
First Boot
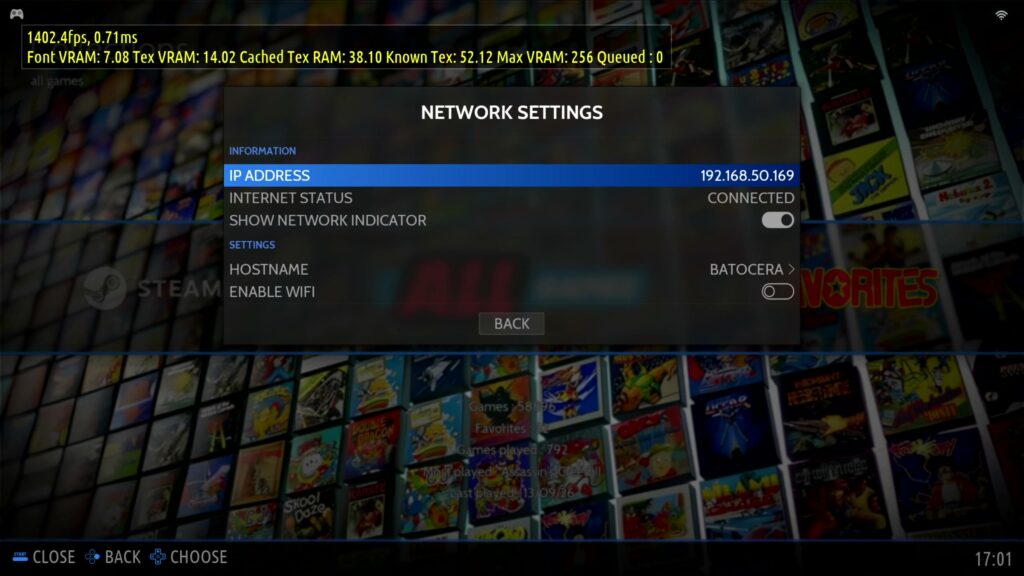
The first proper boot into Batocera goes through EmulationStation’s initial setup — confirming the display output, running through basic input configuration (I’ll cover the actual controller setup properly in Part 6, so I kept this minimal for now — enough to navigate the menus), and connecting to the network.
This video isn’t technically the first boot after installation. It’s the first boot after the ROMs have been transferred and the graphics have been scraped, giving you a look at the fully set-up system and how everything looks when navigating through the console.
Activating the Proper Nvidia Driver
This is the one step from this stage that’s specific to having the RTX 3050 already installed by this point.
Batocera runs fine on the default open-source nouveau driver, but it’s not activated for full Nvidia performance by default — and getting proper performance out of the RTX 3050 matters a great deal once RPCS3 and Xenia come into play later in this series, so this is worth doing here rather than leaving it for later.
This isn’t a toggle in the System Settings menu — Batocera documents it as a boot config file edit. The steps:
- SSH into the OptiPlex.
- Remount the boot partition as writable, since it’s read-only by default:
mount -o remount,rw /boot - Edit
/boot/batocera-boot.conf(nano or vim both work fine over SSH) and either uncomment or add the line:nvidia-driver=true - Save, then reboot.
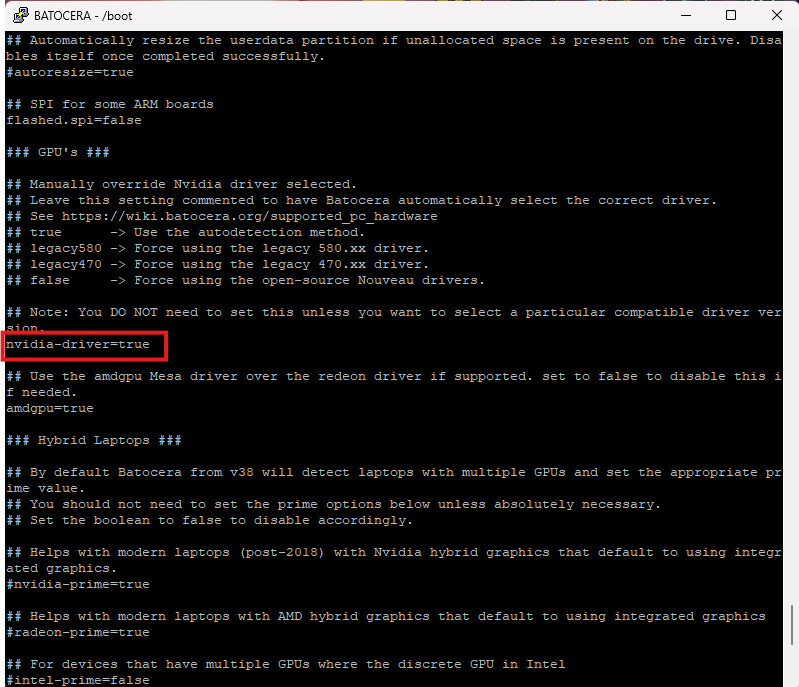
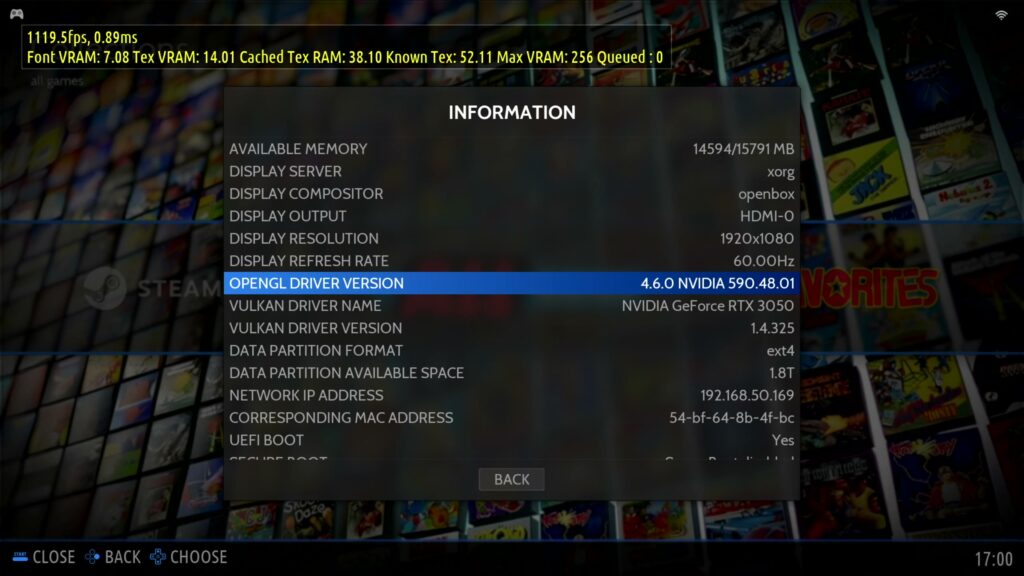
Batocera actually tries to auto-detect and use the right driver already, so this step is really about confirming it, or overriding an incorrect automatic guess, rather than switching something on from nothing. Worth verifying it’s taken effect either way — go to System Settings → Information and check the OpenGL version. If it names NVIDIA, the proper driver is active; if it still says MESA, the setting hasn’t taken. Batocera also logs which driver actually loaded at /userdata/system/logs/nvidia.log, which is worth a quick check if the Information screen is ambiguous.
Checking for Updates
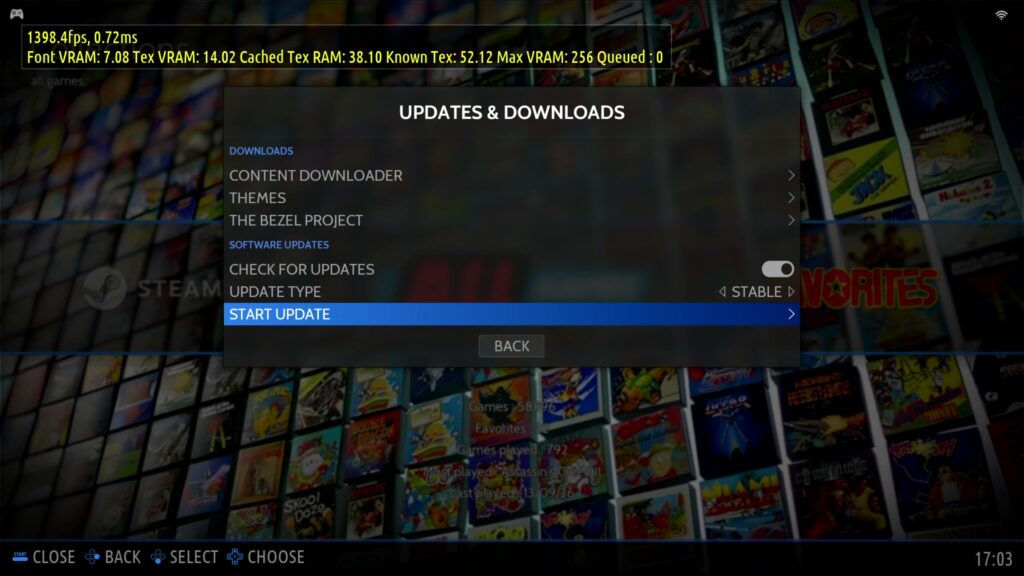
Before going any further, I made sure the system was running the latest available Batocera build rather than whatever version happened to be current at time of download. This matters more than it might seem for this particular project — RPCS3 and Xenia driver support, and the underlying Vulkan/OpenGL stack Batocera ships, have both moved forward meaningfully across recent Batocera releases, and being even one version behind has been enough to affect Nvidia RTX 30-series compatibility in ways I’d rather not have to debug later.
Where the Build Stands Now
| Component / Setting | Status |
|---|---|
| OS | Batocera Linux, x86_64, latest build |
| Install target | 512GB Samsung NVMe (clean install) |
| Boot mode | UEFI, NVMe set as primary boot device |
| GPU driver | Official Nvidia driver active (RTX 3050) |
| Controllers | Basic input configured — full setup in Part 6 |
At this point the machine is a genuinely functioning Batocera system, running on the proper Nvidia driver, with the RTX 3050 doing the graphics work rather than the Intel iGPU that carried the earliest testing back in Part 1.
What’s Next?
With Batocera installed and configured, the next job is getting the actual game library organised — and, more specifically, setting up the storage split I planned back in Part 1: the 4TB IronWolf as the main ROM disk, and a dedicated NVMe partition for PS3 and Xbox 360 cache data.
Part 5 covers ROM storage and the NVMe cache setup
That’s next.