
Part 5: Splitting Storage the Right Way
With Batocera installed and configured in Part 4, the next job was getting the storage set up properly: a large disk for the ROM library, and something faster for the data that actually benefits from speed.
The Plan
I touched on the reasoning back in Part 1, but to restate it plainly: not all the data Batocera and its emulators handle benefits equally from fast storage.
- ROM files are mostly large, sequential reads. A spinning disk handles this perfectly well — there’s little to gain from NVMe speeds here.
- RPCS3 (PS3) and Xenia (Xbox 360) cache data — shader caches, compiled game data — is a different story. This is write-heavy, accessed constantly during play, and directly affects load times and stutter. This is exactly the kind of data that benefits from sitting on fast storage.
So the plan was:
- 4TB Seagate IronWolf → the main ROM disk
- A second partition on the 512GB NVMe → dedicated to RPCS3 and Xenia cache data only
Setting Up the ROM Disk
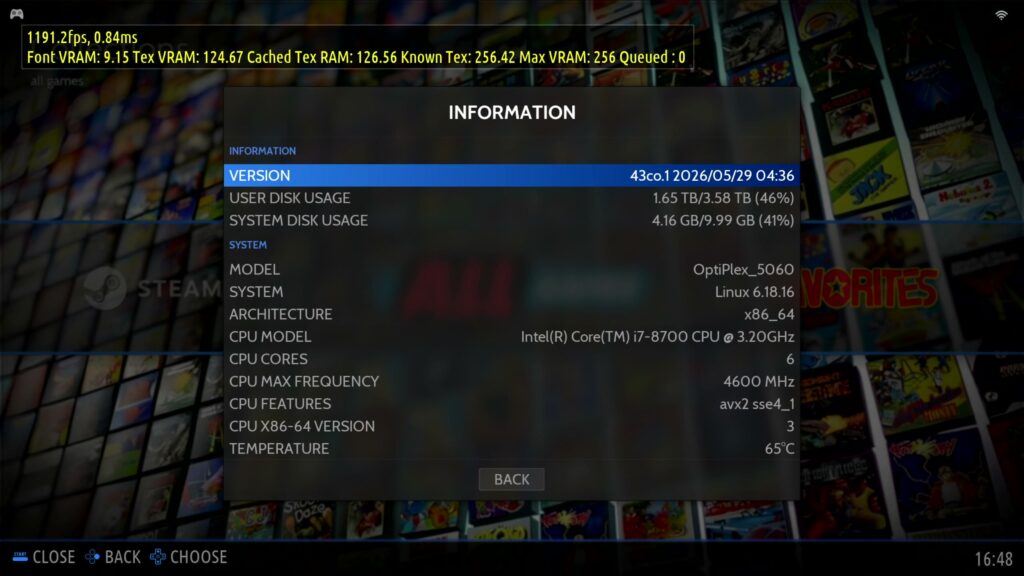
The IronWolf became the main ROM disk. Batocera expects ROMs under its share structure, and rather than trying to relocate that entire structure onto a second drive after the fact, I set the IronWolf up as the target from the start and pointed Batocera’s storage device at it through the System Settings storage device option.
Creating the NVMe Cache Partition
The NVMe already had Batocera itself installed on it from Part 4. Rather than risk that install, I created a second partition on the same drive specifically for cache data, sized with plenty of headroom for RPCS3 and Xenia caches to grow over time as more games get played.
/dev/nvme0n1p2 459G 118G 318G 28% /userdata/mnt/nvme
That’s a lot of room relative to what shader/game caches actually need — deliberately so. RPCS3 and Xenia caches grow fast once you’ve got a few dozen titles installed, and running out of space mid-session turns into a genuinely confusing failure to debug.
Mounting It: Batocera’s Custom Service Approach
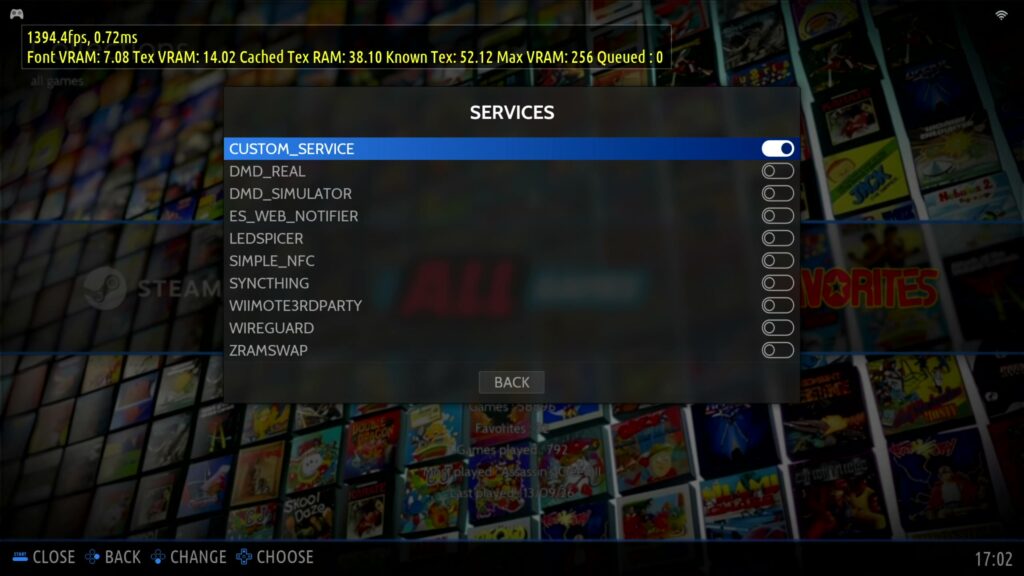
Batocera doesn’t persist arbitrary changes across reboots the way a normal desktop Linux install does — most of the filesystem is read-only, with /userdata as the persistent, writable area. To get a custom partition mounted automatically at boot, and the RPCS3/Xenia cache folders redirected onto it, Batocera provides a custom services mechanism: scripts placed under /userdata/system/services/ that run as part of the boot process.
Here’s the script I set up (filename custom_service):
#!/bin/bash
LOG=/userdata/system/logs/custom_service_mount.log
echo "$(date): starting custom_service" >> "$LOG"

# Mount by UUID, not device node — survives device enumeration changes
UUID=$(blkid -s UUID -o value /dev/nvme0n1p2)

if ! mountpoint -q /userdata/mnt/nvme; then
    mkdir -p /userdata/mnt/nvme
    if mount -U "$UUID" -o noatime /userdata/mnt/nvme; then
        echo "$(date): nvme mount OK" >> "$LOG"
    else
        echo "$(date): nvme mount FAILED — aborting bind mounts" >> "$LOG"
        exit 1
    fi
fi

# Create BOTH cache targets before binding
mkdir -p /userdata/mnt/nvme/share/system/cache/rpcs3
mkdir -p /userdata/mnt/nvme/share/system/cache/xenia
mkdir -p /userdata/system/cache/rpcs3
mkdir -p /userdata/system/cache/xenia

mountpoint -q /userdata/system/cache/rpcs3 || mount --bind /userdata/mnt/nvme/share/system/cache/rpcs3 /userdata/system/cache/rpcs3
mountpoint -q /userdata/system/cache/xenia || mount --bind /userdata/mnt/nvme/share/system/cache/xenia /userdata/system/cache/xenia

echo "$(date): custom_service complete" >> "$LOG"
A few things worth explaining about how this is put together:
- Both cache directories are created on the NVMe partition before either bind mount runs.
mount --bindrequires its source directory to already exist, so this has to happen first for both RPCS3 and Xenia — easy to overlook if you’re only testing one emulator at a time. - Mounting by UUID rather than
/dev/nvme0n1p2— device node names aren’t guaranteed to stay consistent across reboots or after any hardware change. A UUID reference means the script keeps working even if that changes. mountpoint -qguards before every mount — makes the script safe to run more than once. Without this, a service restart could stack duplicate bind mounts on top of each other.- An explicit
exit 1if the NVMe mount itself fails — without this, a failed NVMe mount wouldn’t stop the script; it would just quietly recreate the cache folders on the boot drive instead, and everything downstream would look fine while actually running in the wrong place. noatime— cuts down unnecessary write traffic from access-time updates, which adds up given how much small-file churn a shader cache generates.- A log file — a timestamped record to check if anything ever needs troubleshooting, rather than having to guess.
Verifying It’s Actually Working
Once the service is running, it’s worth confirming both bind mounts are actually active rather than just assuming the script did what it was supposed to:
mount | grep -E "rpcs3|xenia"
Both should show up pointing at the NVMe partition paths, not the default boot-drive locations. Worth checking this after any future Batocera update too, rather than assuming a service that worked once will keep working forever.
A Couple of Ongoing Habits
A few things I’ve kept up since fixing this, worth mentioning for anyone setting up something similar:
- Periodic TRIM on the NVMe cache partition, since constant small cache writes are exactly the write pattern that benefits from it.
- Backing up the custom service script (and noting the partition layout) before any major Batocera version upgrade — since this partition sits outside Batocera’s normal managed layout, a full reinstall or major update isn’t guaranteed to preserve it automatically.
Where the Build Stands Now
| Storage | Purpose |
|---|---|
| 512GB NVMe (partition 1) | Batocera OS install |
| 512GB NVMe (partition 2) | RPCS3 + Xenia cache data (459GB) |
| 4TB Seagate IronWolf | Main ROM library |
Storage is now properly split, both cache paths are verified and working, and there’s a repeatable, logged process behind it rather than something I’d have to rebuild from memory if it ever needs touching again.
What’s Next?
With storage sorted, it’s time to get input working properly.
Part 6 covers controllers and initial testing — getting the GameSir Cyclone 2 and EasySMX D05 both recognised and mapped correctly, including a detection quirk with the EasySMX that took a bit of digging to sort out.
That’s next.